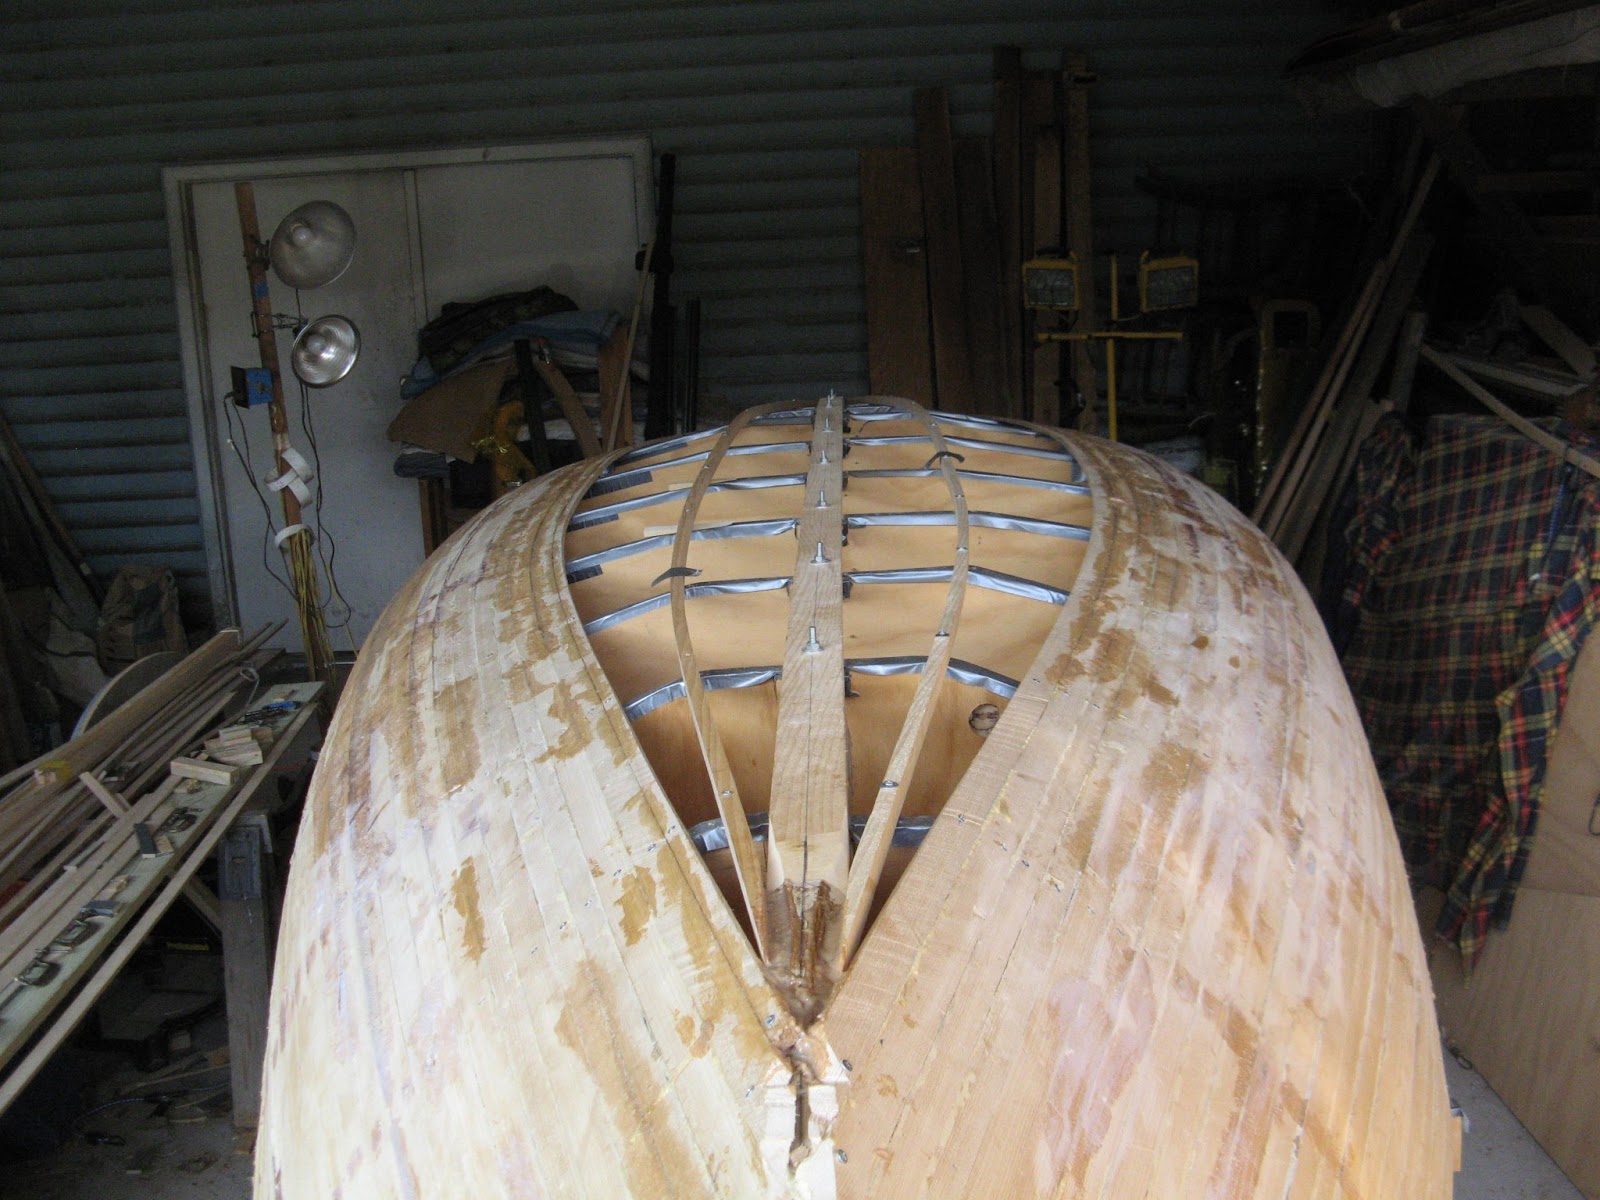
On June 9th I applied the 1st coat of Interlux 2000E Perfection primer to the hull. Upon opening the primer I found that the solution was very heavy and needed to be stirred with my power stirring attachment that I have for my portable electric drill. Once I got this going the solution became more workable and I than transferred the required amount of resin to a separate container and then added the epoxy primer hardener to the resin. The ratio was 3 parts of resin to 1 part hardener. The 1st coat went on extremely well but I made one mistake, I used a 4 inch foam roller and the roller melted after I finished one side of the hull. I then switched to a mohair roller and that worked great. The primer’s instructions did not include what type of solvent to use for cleanup so I used the trial and error method and found that Xylo worked the best. As with all solvent based rags I separated all of them and let them dry while hanging around the job overnight. There was no way that the roller could be saved so I let it dry also. I than let the epoxy primer sit for 2 days and then I applied the 2nd and final coat of primer. The result was a hard smooth hull.
Today, June 16, 2013 I started making the reverse molds that will hold the boat once it is turned over. After some staring at the boat and thinking what would make sense I concluded that I’d have a reverse mold at stations 2, 5, 8 and 11. Each of these molds has about 46 inches between them and I thought that 4 inches would be a good height for the molds above the base or keel. Fortunately I had kept the plywood patterns for the inside station molds and I therefore just needed to lay these lines out on some ¾ inch plywood and cut out the reverse molds. The molds are a bit off but I’ll fill the gaps, add 2x4’s to each molds base line and then add old carpet to the inside edges. I wouldn’t want the boat’s hull to plain plywood as it needs a comfy seat.


